
I know I have said this before, actually many times. I make my life so much harder then it needs to be. I am finishing up a project and want to do some hand stitching/embroidery in the borders. Couldn't I use commercially available thread? Isn't there some color that would work for me?
Noooooooo, I have chosen to dye thread for this project. I want it variegated.
Thread dyeing is actually very easy. this project took me all of 2 hours, including digging out my dyes and prepping my work area and the solutions.
I decided to dye 3 different threads.

This is a cotton crochet thread that I bought at AC Moore. It is a 10 weight.
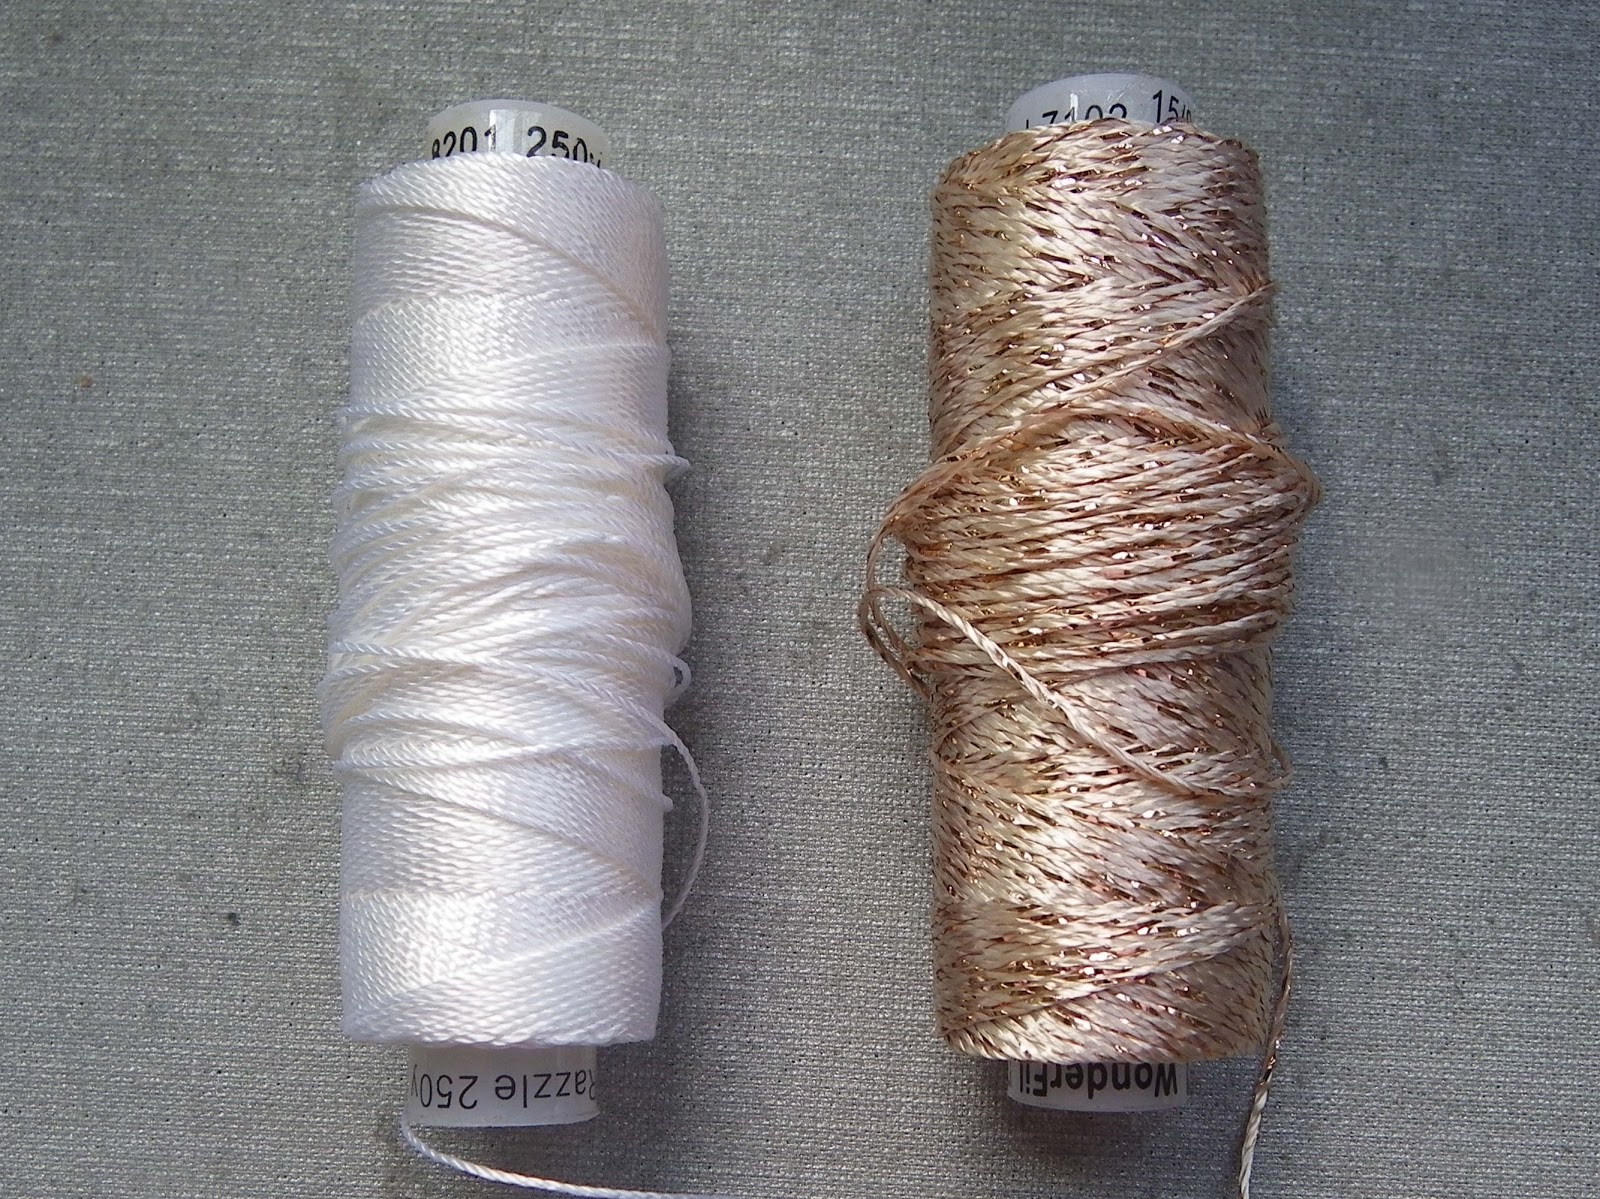
These threads are rayon and they are sold by Wonderfil. They are both 8 weight.
The one on the left is called Razzle.
The one on the right is Razzle with one strand of metallic thread and it is called Dazzle.

The first solution to prepare is a soaking solution made from soda ash. It is actually sodium carbonate and can be bought from a dye house or from a swimming pool supply store.
*****When working with any of the solutions and chemicals, you should :
Wear gloves and protect your clothing.
Any items used for dyeing should be dedicated for dyeing only.
Never use measuring utensils for food prep afterwards.
Never store any of the solutions with food.
Step1:Soaking Solution Prep
Add 1/2 Cup of soda ash to 1/2 gallon of warm water.

Step 2. Soak the thread in the soaking solution for at least 15 minutes, but it can be left longer.

Step 3. Make up dye solutions in the proportion of 1/2 tsp of dye powder in 1/2 Cup of warm water, using Pro MX Fiber Reactive dyes. (I buy mine from ProChemical & Dye Company.)
(Use a dust mask when measuring out the dye.)
To avoid the dye from clumping, add a little bit of water to make a slurry and then slowly add the rest of the water. Label all of the jars. These dye solutions last for several months at room temperature. (I used chartreuse, turquoise and grass green.)

Step 4. You can test the colors and how they will interact using a paper towel.
Protect your working surface with either plastic wrap or work in a plastic bin.

Step 5. Make a skein of thread and lay it out on the plastic wrap.

Step 6. Paint on the dye with a dabbing motion using the foam brushes.
Make sure you have one brush for each color.
I overlapped all of the dyes to get more of a variety of colors.

Step 7. Wrap the dyed, wet thread in the plastic wrap and let it sit overnight.

until the water is clear. Hang it to dry.

I used the same dyes on all 3 of the thread types.
The threads from the top down are: Dazzle, Razzle and cotton crochet thread.
Notes:
1.The soaking of the thread in the sodium carbonate solution is the most important step. Without this step, your dye will wash out or run if it is washed.
2. All of the literature I have read indicates that the dye and dye solutions are non-toxic. As a former chemist, I treat all chemicals with respect and treat the dyes and solutions as if they are toxic. Better safe than sorry.
3. The dyes will stain your hands and your clothes.
It looks like you had a fun play day!
ReplyDeleteGreat results!!!
ReplyDeleteThose came out beautifully. I use rit dyes, easier to get and no prep, I am lazy.
ReplyDeleteDebbie
great color variety with different threads. thank you for your tutorial!
ReplyDeleteWow!!! Loved the post. You are amazing! That turned out so pretty. I don't think I have patience to do it all.
ReplyDeleteThe results are gorgeous! I wish I weren't too lazy to do this!
ReplyDeleteThese really came out beautifully! How did you unwind the thread off the spool and how do you keep it from turning into one tangled mess?
ReplyDelete